Stratton Convertible Compact and How to Depot Rimmel Stay Matte Powder

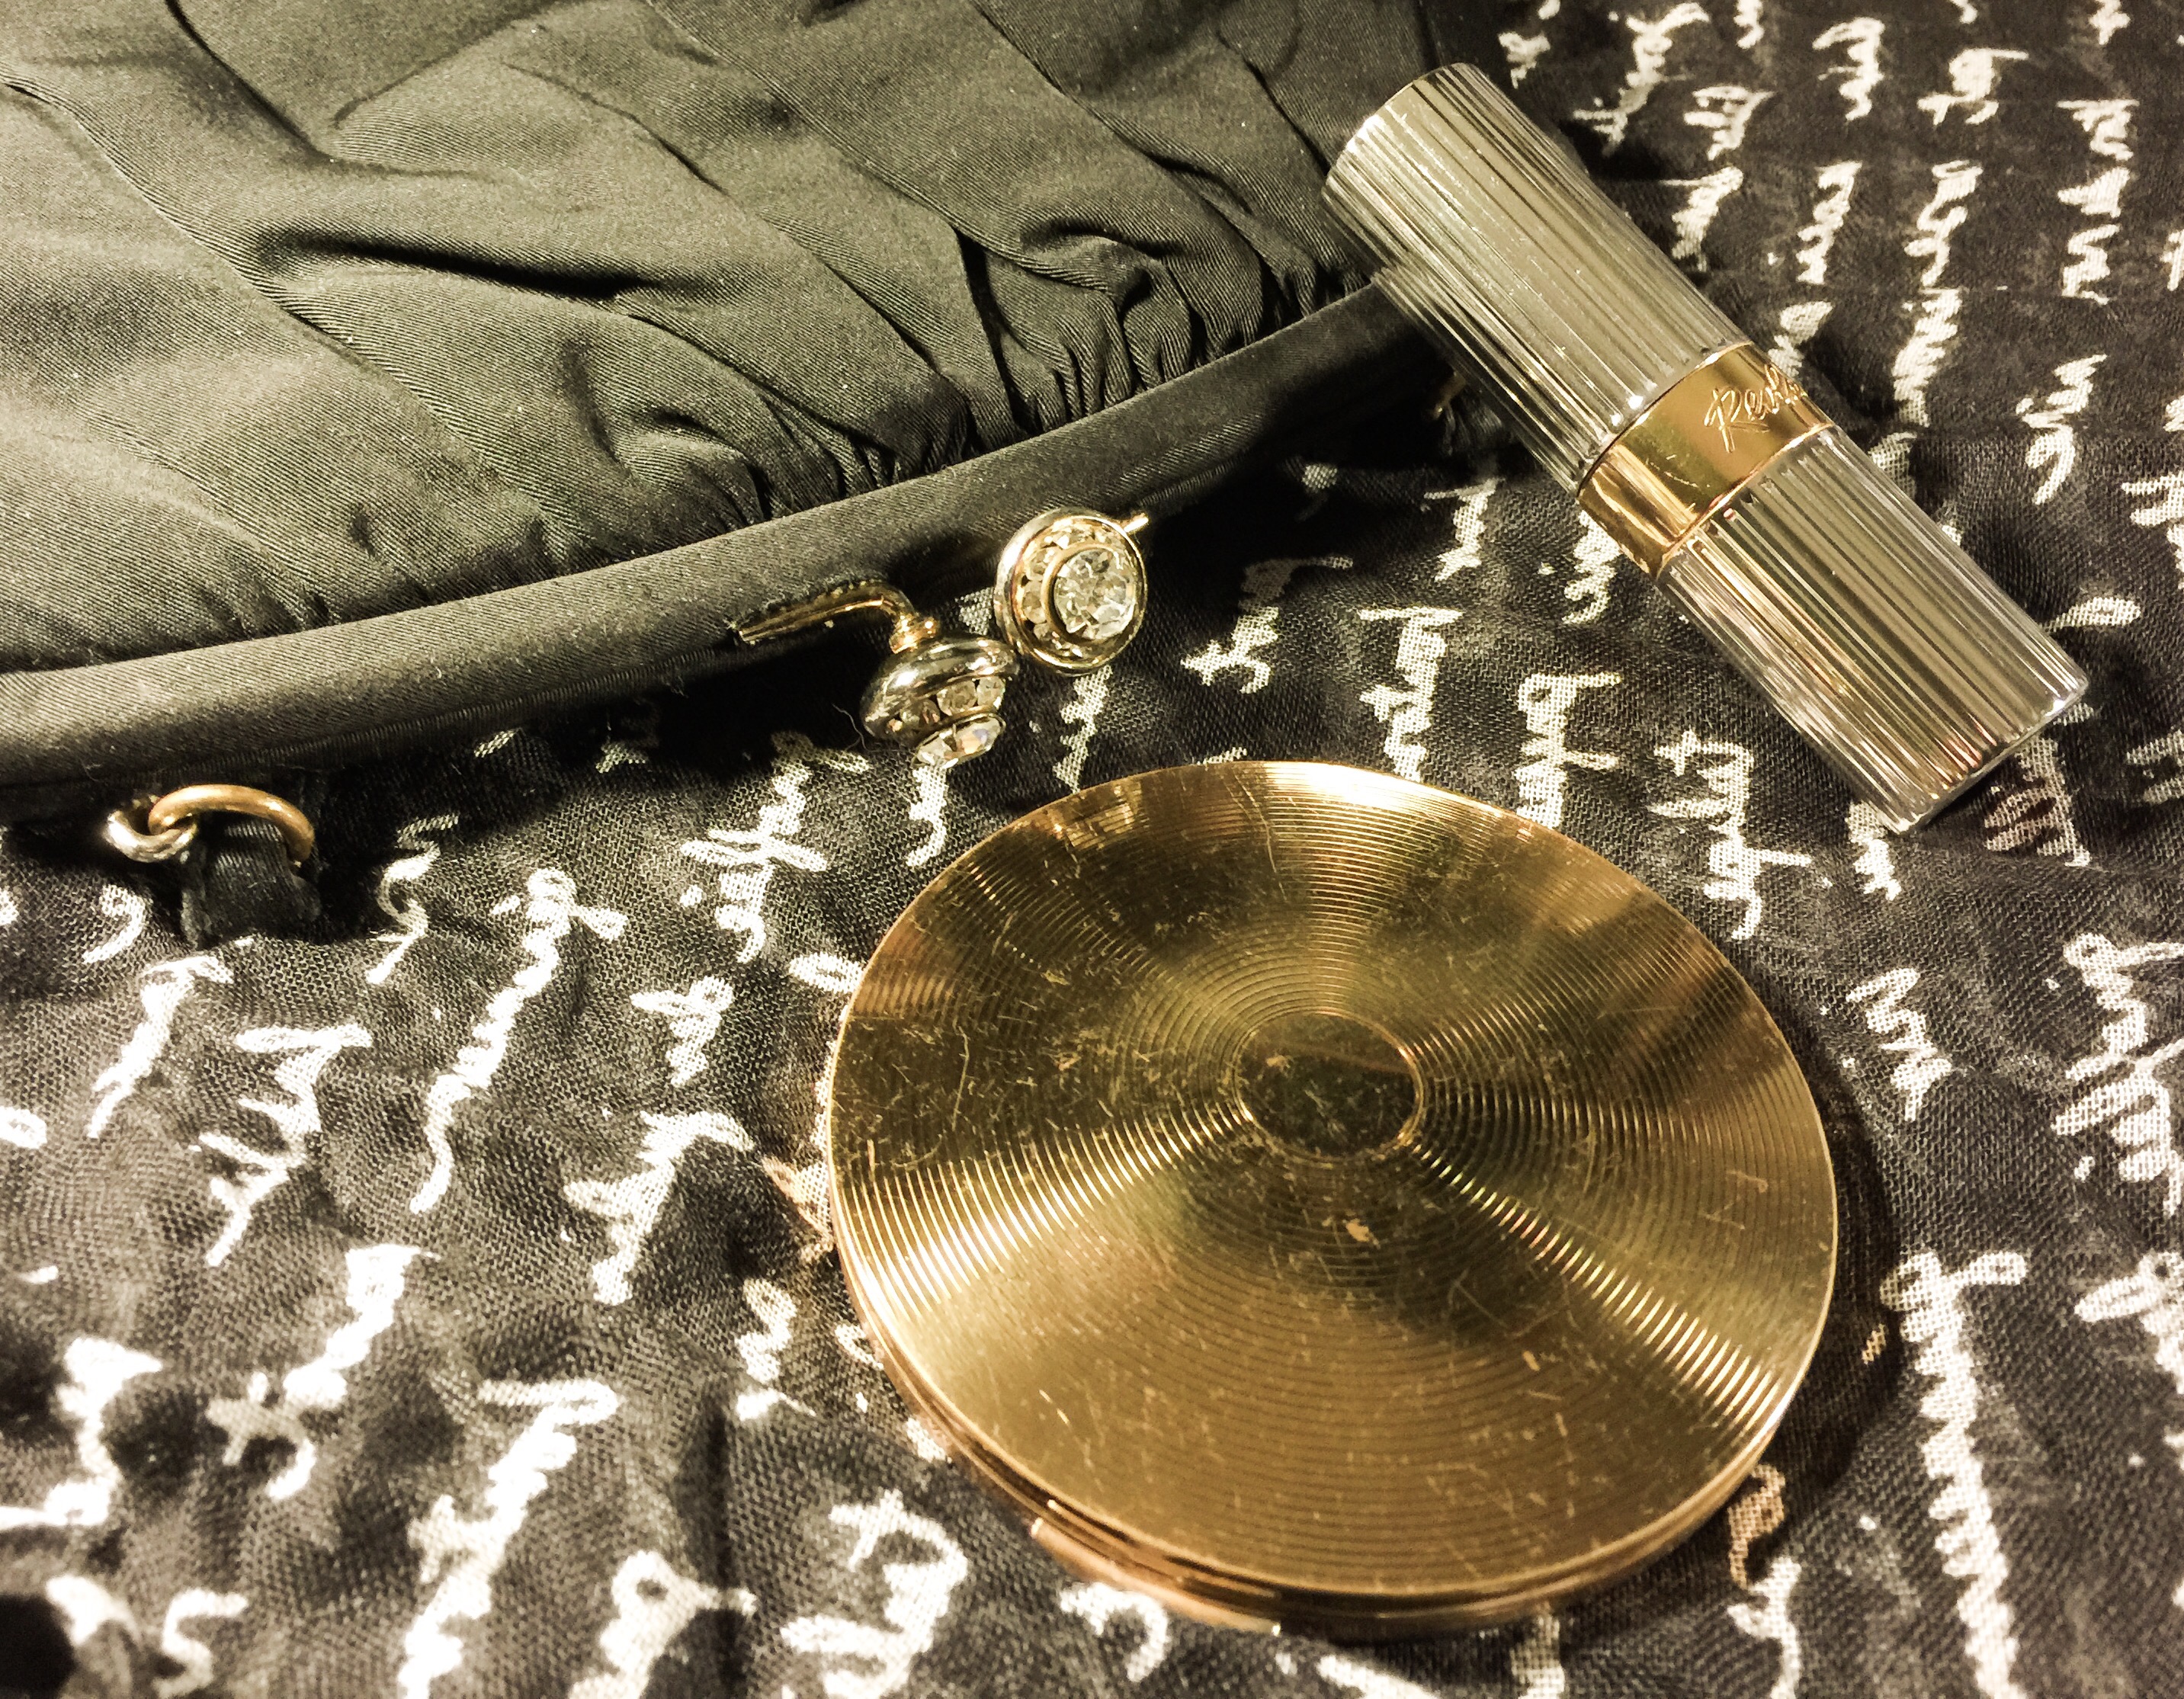
So, I’ve been out for about a week sick!  But before I became ill, I did this fun little project.  You see, my cats stole my other vintage Stratton compact from atop my dresser and I have yet to find it.  My boyfriend and I have looked under all the furniture, etc.  We are completely mystified!  I decided to get another compact, this time something to keep in my purse.  This one is modern and holds pressed powder.  It’s a bit thicker so it will hold a modern powder puff (it did come with one that fits in the sifter, but I prefer the velour puffs).  It just so happens that there are only a few powders that fit in these and the ones that are actual refill types didn’t look light enough for me.  The two types that looked like they would work for my pale skin are Estée Lauder Lucidity and Rimmel Stay Matte.  Seeing as how the Rimmel has great reviews and is $3.99, it was the obvious choice.

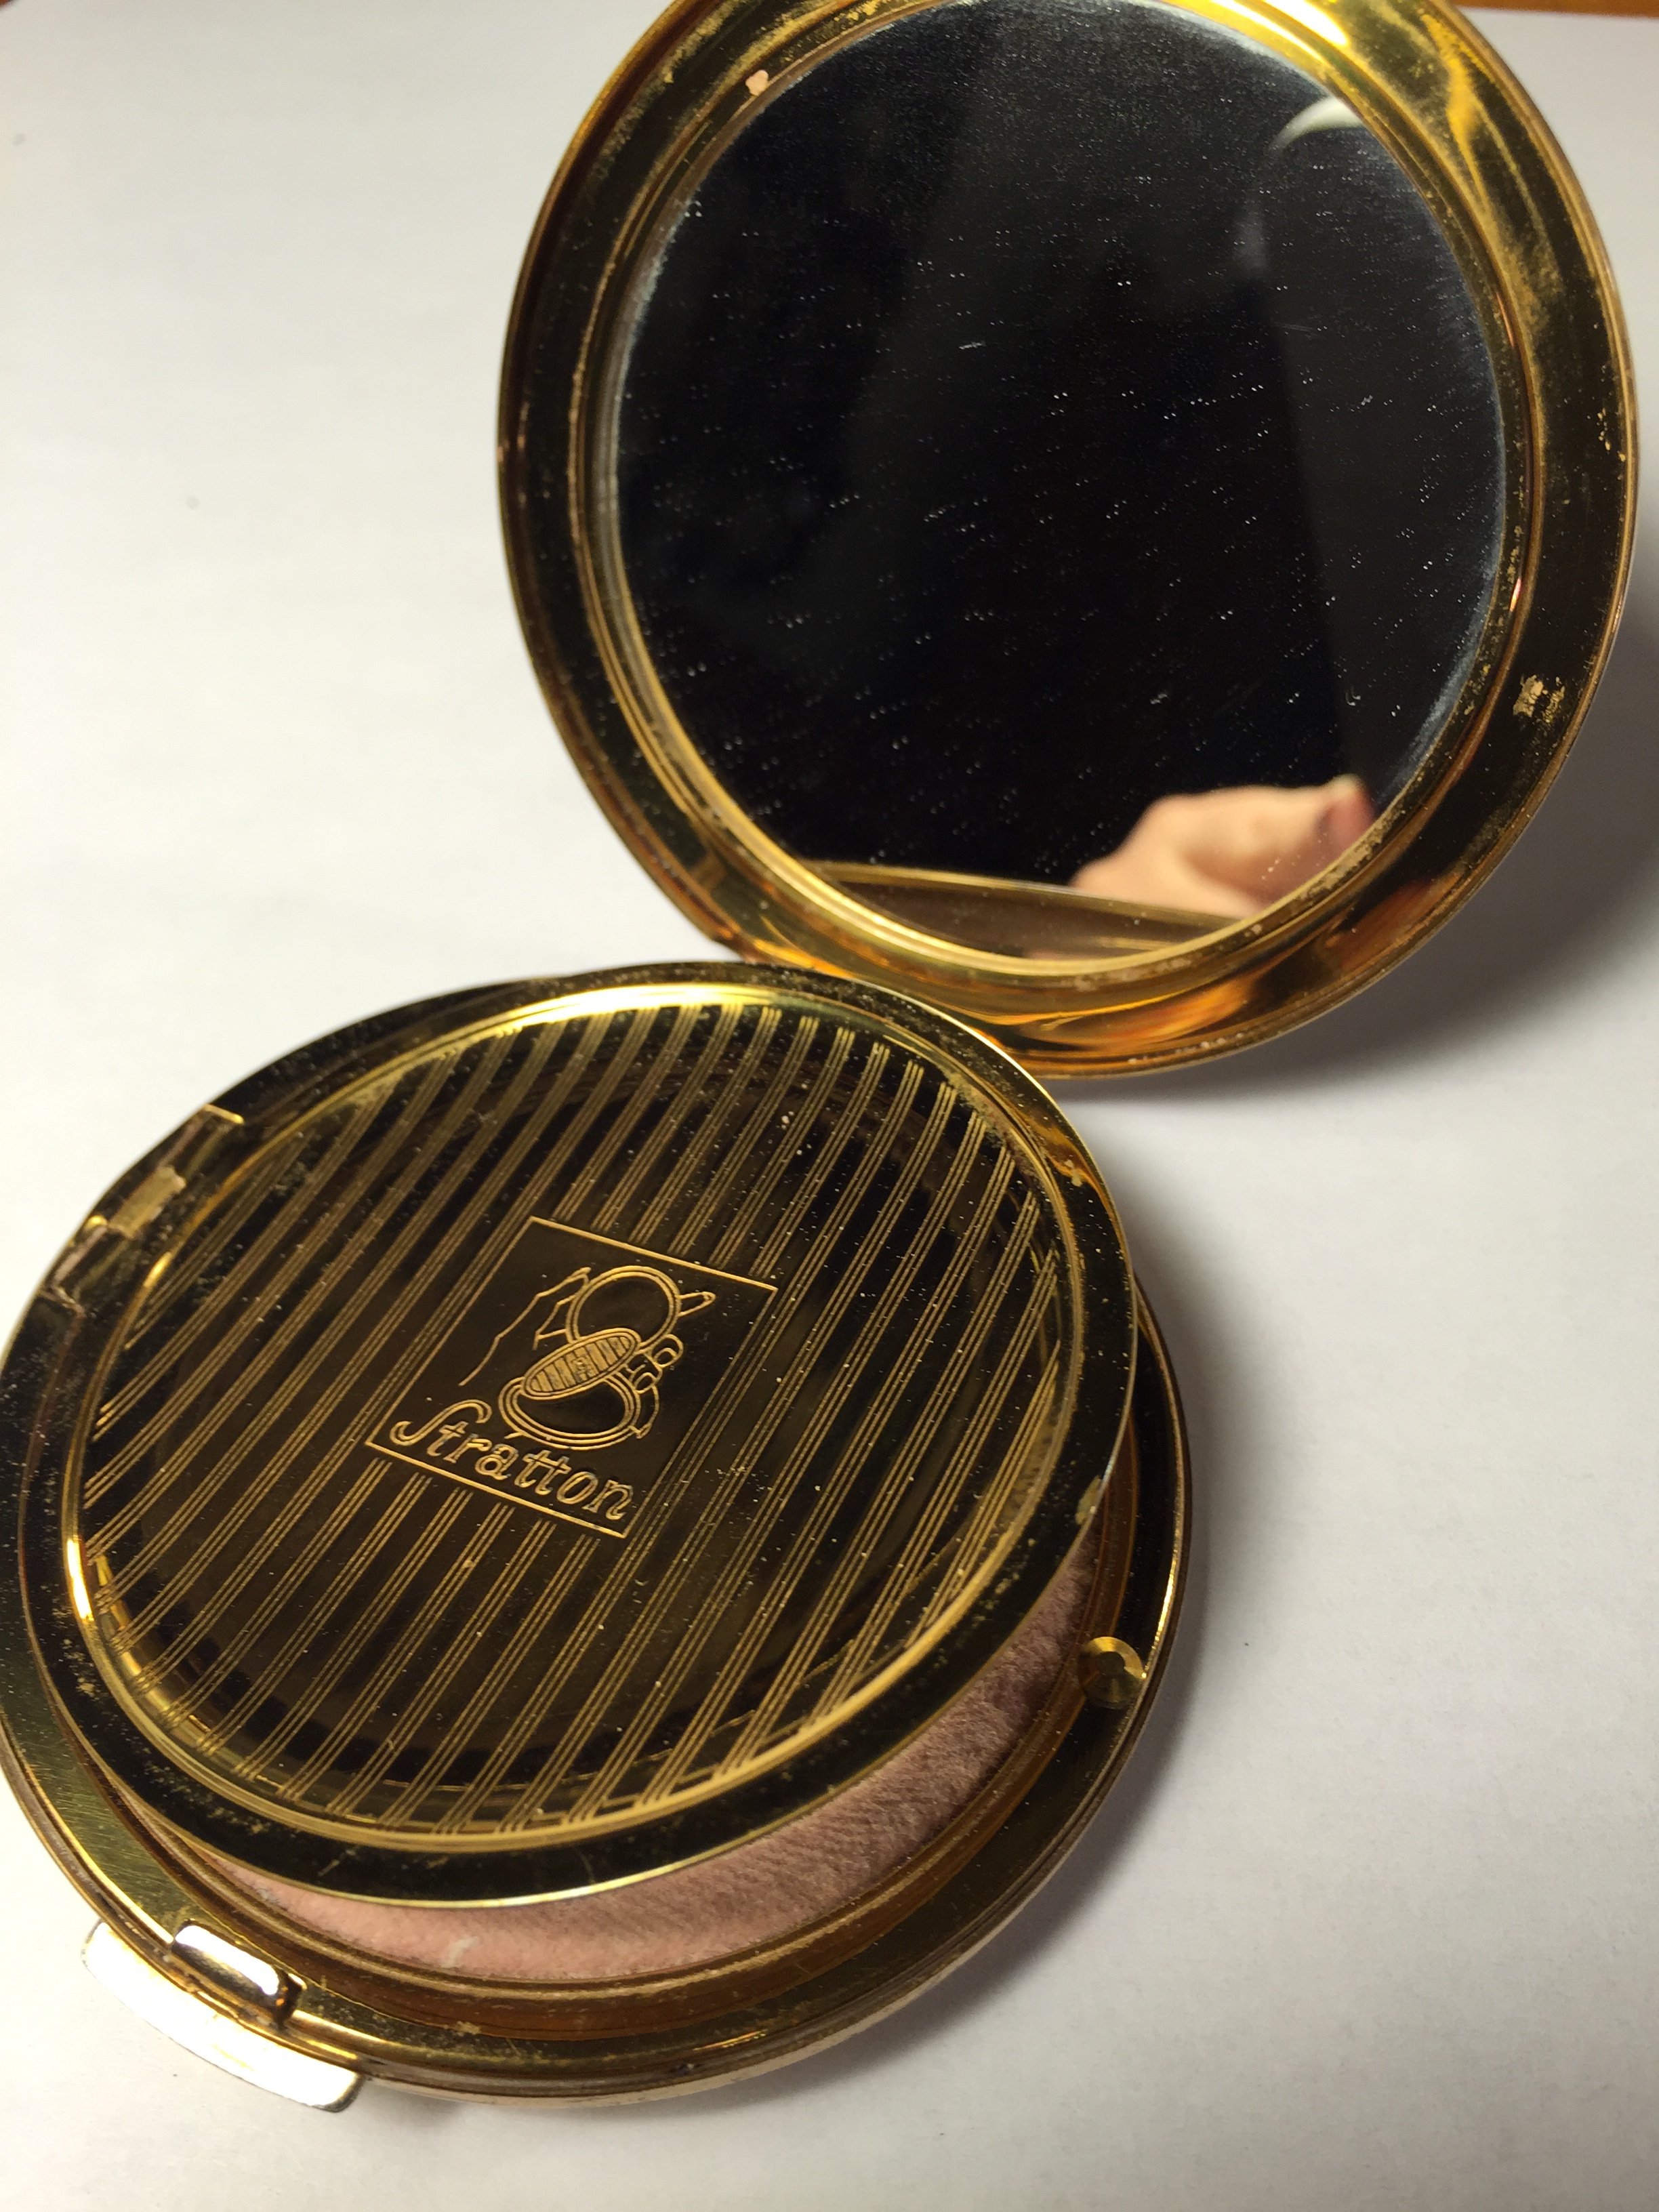
So, here’s my lovely Stratton compact in the Art Deco design.  

  
Here’s my towel laid down to cushion my powder when I pop it out of the pan.  I used the candle method to depot my powder.  I don’t have to tell you to open a window and turn on a fan when you do this, right?  We are talking melted plastic fumes, here.  Hell, do it outside!  And BE CAREFUL.  I seriously have a friend who’s house burned down this week.  Be vigilant when messing around with fire!  Ok, Mom Moment over.

  
You can see on the back of the Rimmel Stay Matte that there are a couple of pin holes.  These aren’t really going to do a whole lot of good though.  The glue is in one blob right in the very center, so you can’t really push it out with the pin hole.

  
I held the candle over the label for a few minutes, using metal tongs.  DO NOT hold it with your fingers.  Burns hurt.  

  
WTF?  These old grilling tongs should be replaced, LOL!  Anyway, they’re good for something. 

I was able to peel the label off with ease. 

  
Then, I held the compact over the flame.  I was REALLY surprised at how fast it melted!  The glue is all one big dot under that cross area in the center.  You want to melt around that, and then you can slip a knife in under it and pop the pan out.  Don’t burn yourself! 

  
All out.  Nicked it with my nail, heh!  Pretty perfect, though. 

  
The circle of glue popped right off the back. 

  
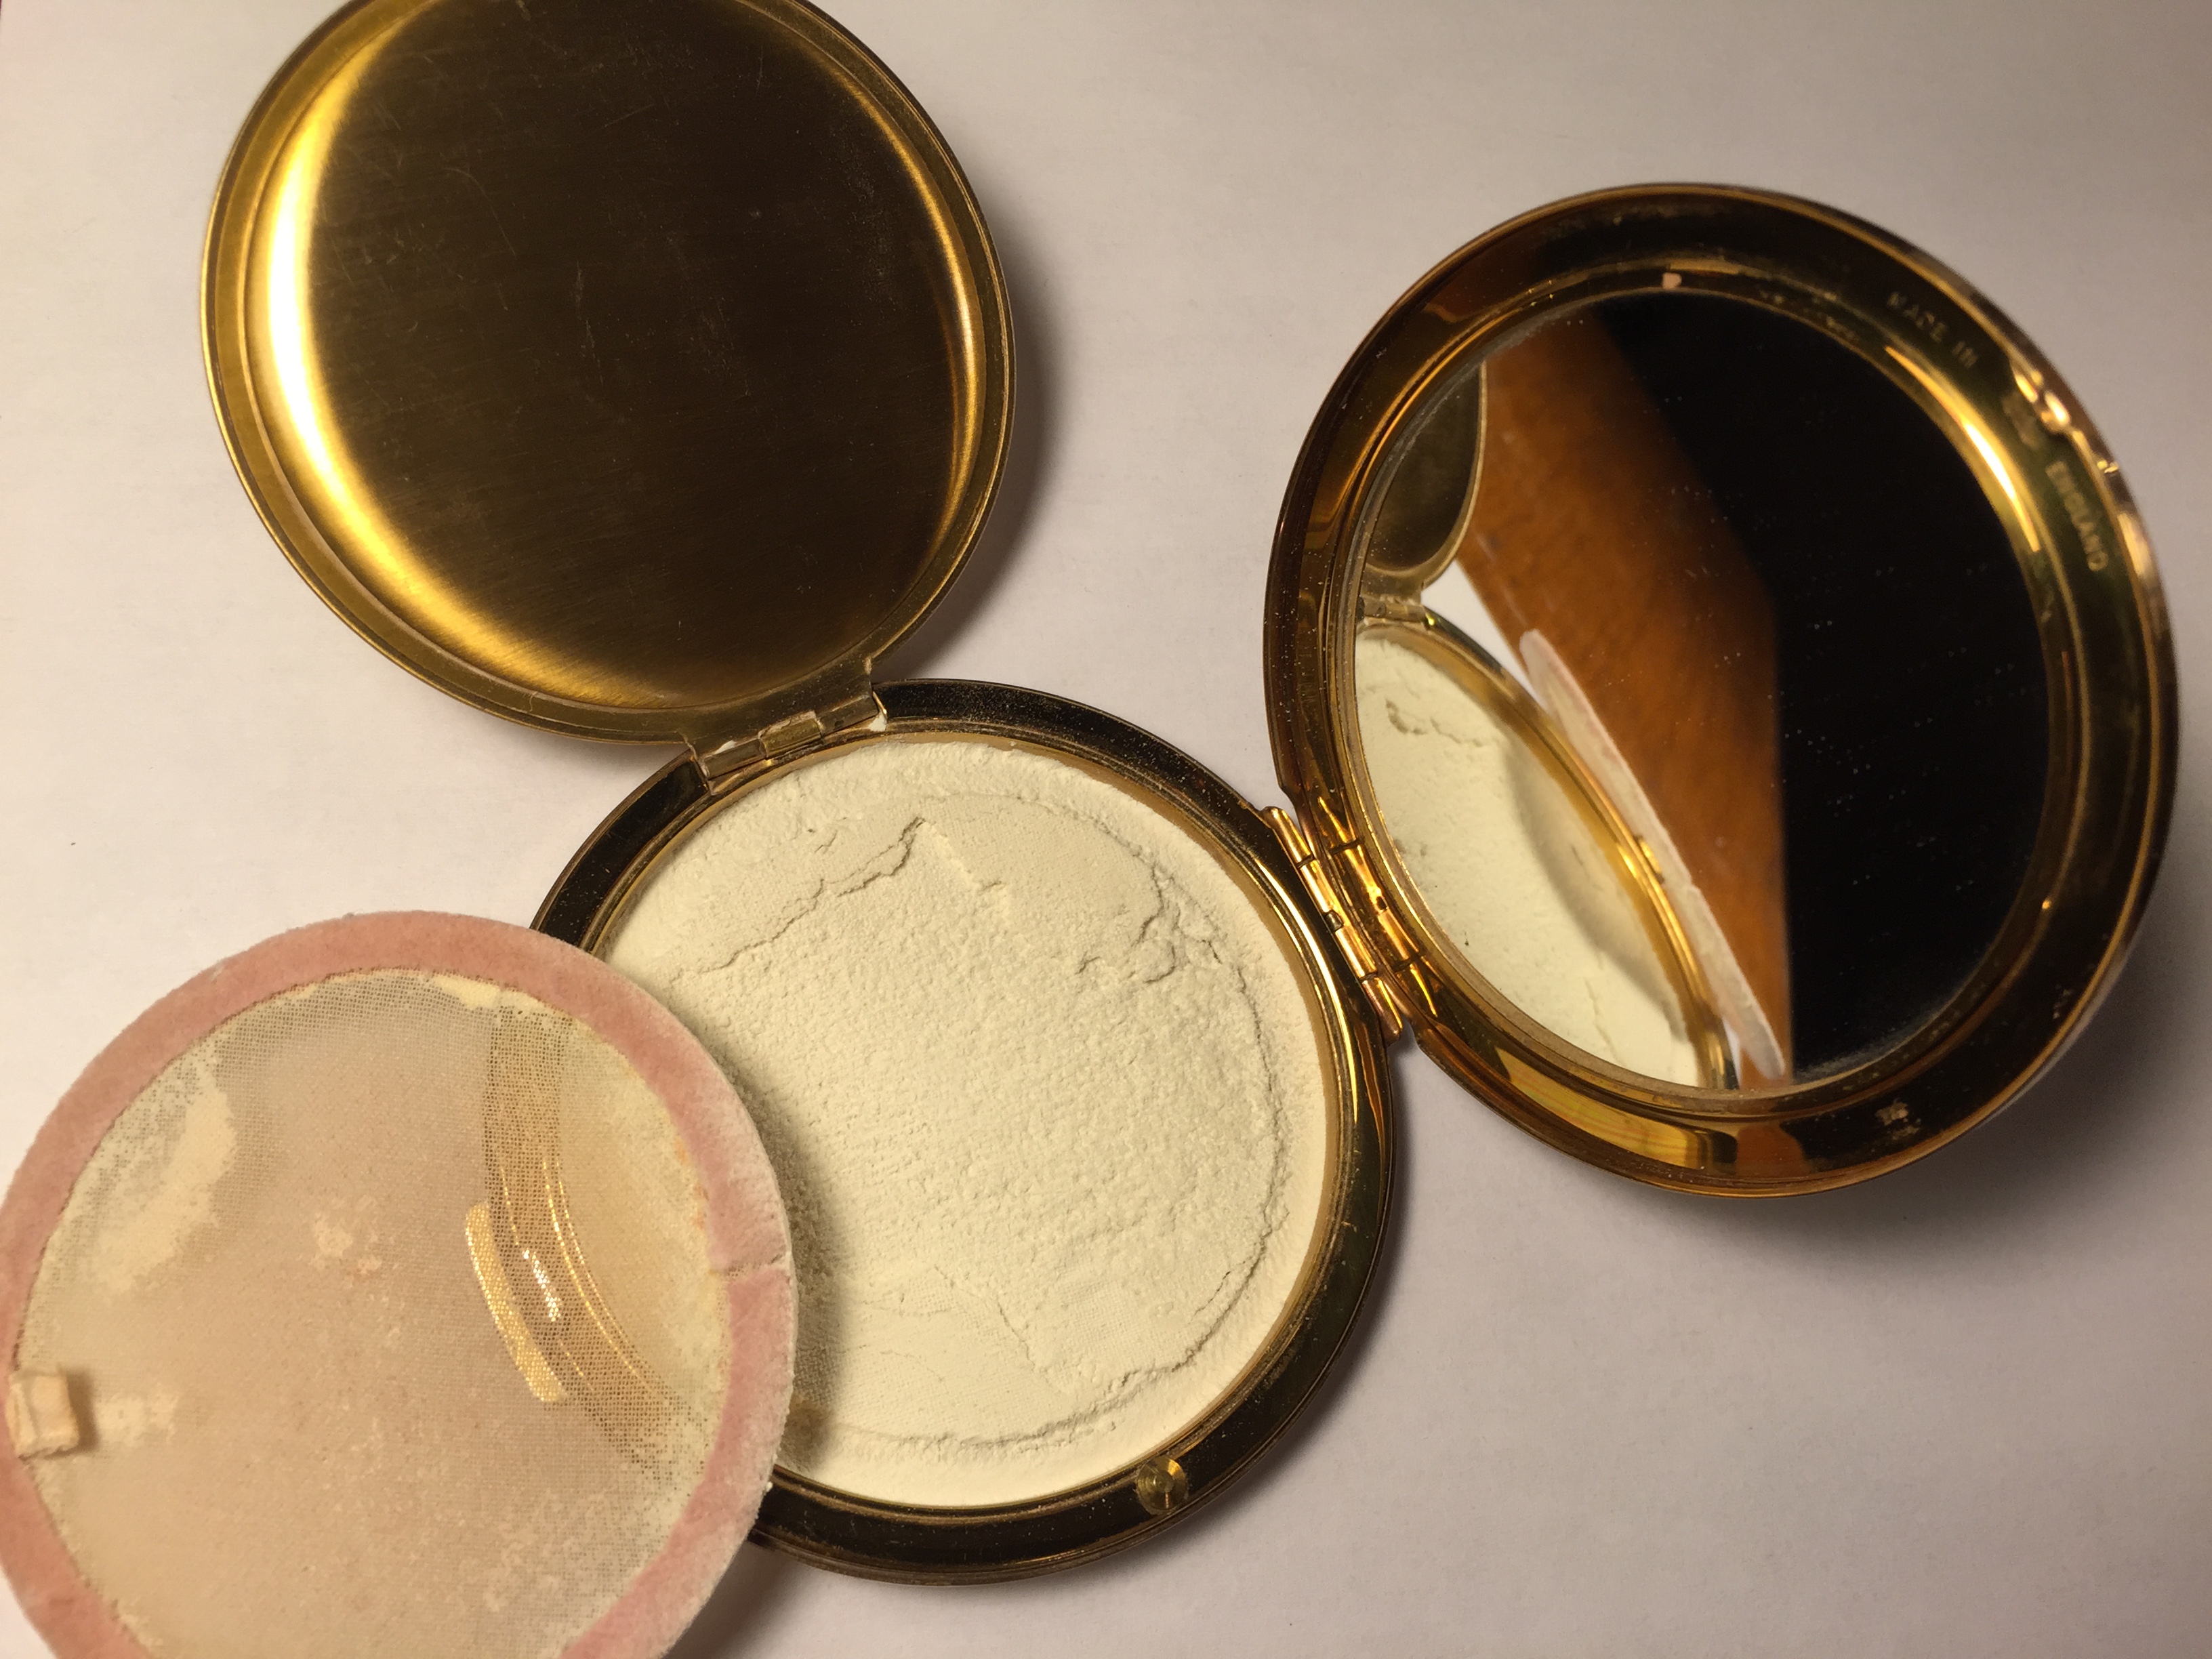
A perfect fit!  My velour powder puff sits on top and when the compact is closed, it holds the pan perfectly in place, so there is no need for a magnet. 

These compacts seem to sell for $60-100, so I was shocked to find this new one on eBay for $10. Total cost for this project was just under $15.00.  Depotting is a pain, but this piece is so unique and fun to use!  And this huge pan of powder will last ages, as I am just using for touch ups.  

Have you depotted any powder makeup products before?  I also have done this with many eyeshadows and blushes, so I’m kind of a pro at it by now.  Putting stuff in palettes really saves room! 

Advertisement

Vintage 1950s Stratton Loose Powder Compact

So, being in a bit of a vintage makeup mood lately, I decided to try out a vintage loose powder compact. I decided that to try one out, I would get a very inexpensive one on eBay first, because I wanted to see how they work and if I could stand to use one at all. I got a 50s model Stratton (a UK brand) on eBay. It’s a bit beat up on the outside, but it seals perfectly, the hinges work great, and everything is in perfect working order. It was only $5.00 with free shipping, so I wouldn’t be out much if it was too much of a pain in the ass to use.

7-20-2015 142

Well, isn’t that cute?

7-20-2015 143

Stratton made compacts for decades, starting around the 1930s on up to around the 1990s. In this blog post, there is some handy information on how to date a vintage Stratton. It appears mine was made in the 1950s.

So, the self-opening inner lid version of these compacts were made from 1948 onward. I have to say, this is one of the coolest things I’ve ever seen! Or, maybe I’m just easily amused. 🙂 Tilt the lid of the compact nice and far back and the inner lid springs open. It’s the most satisfying sound.

7-20-2015 144

Under the inner lid is the powder well where you put your loose powder. You place a powder sifter over it, which presses the powder down. The sifter fits tightly in place and keeps the powder from coming out. The sifter is a fine mesh fabric which only lets a bit of powder through onto your puff or brush. Your powder puff is very flat and fits on top of the inner lid; however this compact didn’t have the puff and modern puffs are too thick to fit inside vintage compacts. There is only one manufacturer I know of, but I intend to use a portable kabuki with this compact. The sifter in this compact was in great shape and easy to clean up with an antibacterial brush cleanser.

7-20-2015 145

I cleaned a spoon with alcohol and filled the compact with MAC Set Powder in Invisible, which I have been using for many years.

7-20-2015 146

Press the sifter into place and close the inner lid, and your powder is pressed and secure.

7-20-2015 147

I’ve found that I actually like using loose powder with a mesh sifter better than straight out of a powder jar. Instead of getting either no powder, or a metric f-ton of powder on your brush, you get a perfect, finely distributed amount of powder on the brush, and a perfectly distributed amount of powder on the face. It’s really pretty brilliant!

This compact doesn’t leak when I tap it on my hand, but I am going to keep it on my vanity just in case. Compact manufacturers started making “convertible” compacts around the 50s that also held pressed powders and I think I will look for one of those for carrying with me, as there are just a few types of powder still made that fit those (two types being Rimmel Stay Matte and Estee Lauder Lucidity). I am a bit nervous about spilling my precious Set Powder in my Coach bag (even if it was a cheap outlet bag, LOL)! So I am looking around for a steal on a pressed powder compact now.

Do you have any refillable cosmetics items? I really think with people more concerned about “going green,” this should be something companies should start bringing back. At least companies like MAC are encouraging recycling, I guess. What do you think?


How I learned to love the MAC 190 foundation brush

I’m a former MAC artist…ok, that was many years ago, but I still use some brushes by MAC (as well as many by other less expensive brands).  The 190 foundation brush is a flat, paddle shaped foundation brush that has always vexed me a bit when I try to use it with liquid foundations, especially ones with a texture like Studio Fix Fluid that can be prone to streaking.


The MAC 190 foundation brush is a natural fiber brush (horse hair) and great for application of liquid and creams, but blending was where I was having a problem – this is because I was using back and forth “painting” type motions to work the product onto the skin and continued trying to blend this way.  Eventually, I became disenchanted with my somewhat streaky results and stopped using this brush altogether, which sucks, because it’s expensive ($34.00 USD).  One day I was feeling bummed out about it and started looking around YouTube for some tutorials on how to get better use from this brush.  Low and behold, Wayne Goss (I love him!) had tips including using the side/tip to stipple and pat any streaky texture away once the product is on the skin, working in small areas of the face.  This absolutely works wonderfully!  I feel like I’m having a renewed love affair with an old brush now, as I have gotten my 190 out and have been using it for days.

Awesome!


MAC 190 brush with Maybelline Fit Me Matte + Poreless Foundation in Porcelain with MAC 134 brush and Maybelline Fit Me Matte + Poreless Powder in Translucent

Have you rediscovered any old favorites or learned to love something you thought you didn’t like?